If you’re reading this article, then you probably have a hamster and are wondering how to clean the cage. You should know that cleaning your hamster’s cage is very important because it helps keep your furry friend happy and healthy! How, you might ask?
Well, if the cage can’t be cleaned regularly (every 15 days or so), it will start to smell bad and get dirty. This makes for an unhappy hamster who could also become ill from living in such conditions.
One of the most important aspects of hamster ownership is keeping their habitat clean. Cleaning a hamster cage is not as easy as it may sound. You can’t just take the hamsters out and wash their cage like you would with a cat or dog.
The key to cleaning your hamster’s cage without stressing them too much is to place the animal in an appropriate sized container before removing any bedding, food, water, or toys from the habitat.

In this blog post I will outline the different methods for cleaning a hamster cage, as well as how to use these methods effectively. Below I will go over some of the basics of what materials you need to get started with cleaning cages as well as what steps must be followed while doing so.
Daily Cleaning Of A Hamster Cage
Cleaning your hamster’s cage every day is the best way to keep it from getting too dirty. Accumulated waste can make a cage smell bad, as well as pose a health risk for you and your pet. They might even get aggressive and start biting, if their living conditions are not hygienic.
You need not fully remove everything and clean your hamsters’ cage every day. As a daily routine, it is more than enough if you replace the soiled, dirty bedding in the hamster cage. Usually, your hamster will have selected one or two corners as their pee corner, and it is here that they go about doing their business.
It is more than sufficient to replace soiled bedding or soiled substrate in such pee corners with fresh bedding on a daily basis.While you’re at it, it’s also recommended that you remove any stale food that has been leftover from the previous feeding session.
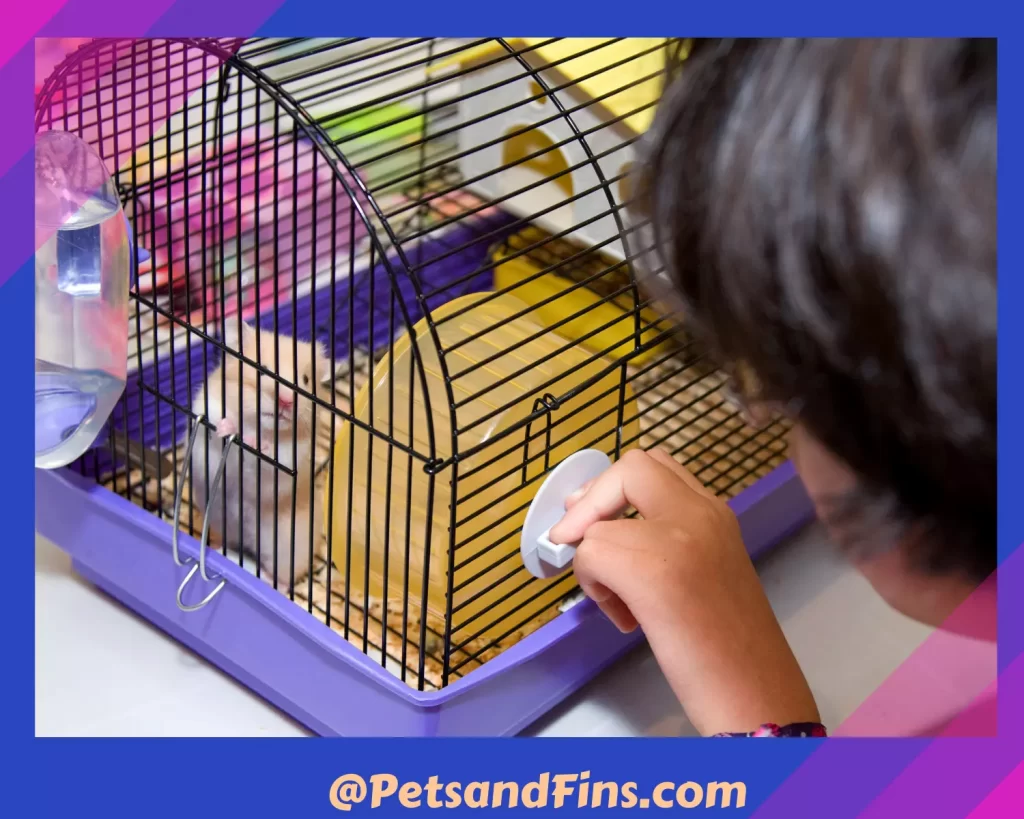
However, it does become important that you do a thorough cleaning of your hamster cage once every 15 days. This process includes removing everything inside your hamster cage and thoroughly scrubbing and disinfecting it, then re-assembling everything before you re-introduce your hamster to the cage. Let’s find out what the materials are needed to do this fortnightly cleaning.

Materials Needed To Clean A Hamster Cage
Now that you’ve decided to clean your hamster’s cage, the first thing you have to do is gather all of the necessary materials.It would be a bad idea if you began cleaning without any actual supplies! There are many different things needed when preparing for this task, including:
CLEANING MATERIALS CHECKLIST
How To Clean Your Hamster Cage Step By Step
Now that you’ve gathered the necessary materials, it’s time to get started with cleaning your hamster cage! I will be going over some of the basics of what needs to take place before and during this process.
Before actually getting into the details about how to clean a hamster’s habitat, there are several things that must be taken into consideration. First, you must ensure that your hamster is secure in a suitable container during the process of cleaning their habitat.
For this reason, it’s best to place them inside a critter carrier or box with an appropriate sized opening for the animal and a lid (with holes) so they can breathe easily and not be frightened.
Once your hamster is safely placed inside the critter box, it’s time to get started!
Step 1: Take Everything Out Of The Cage
Now that your hamster is secure and you’ve gathered all of the necessary supplies for cleaning their habitat, the next step is to begin removing everything from inside it.
Start by scooping out the faecal matter using the scooper. This is to ensure that you don’t mix it up with other materials inside the cage, such as food bowls, toys, etc .
After that, start removing and taking out soiled bedding , food bowls, toys, etc.
Step No.2 : Cleaning The Cage
Once everything has been removed from inside the cage, it’s time to clean it. How you choose to go about this is largely dependent on what materials are being used for cleaning and if a hand-held vacuum cleaner can be of assistance.
- If using paper towels or toilet paper: Rip off several sheets of either one of these and place them at the bottom of your hamster’s cage. Next, take a clean sponge or wash cloth (if you don’t have one available; use toilet paper instead) along with some mild soap and warm water to begin cleaning out the habitat.
- If using Cage Habitat Wash: Fill up half of a water bowl with this product, then spray/sprinkle it all over the cage. Let the liquid sit over the cage for 2 to 3 minutes. Then, take your sponge and begin cleaning out the habitat as you would if using paper towels or toilet paper.
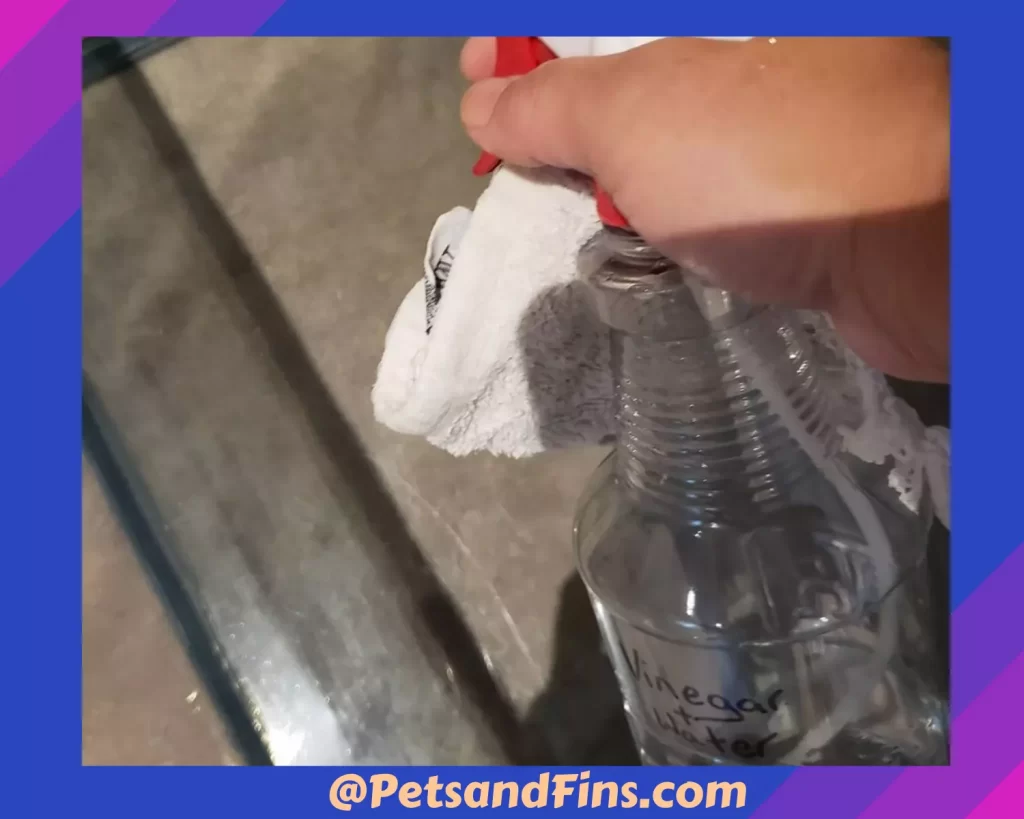
- If using vinegar: fill up half of a water bowl with white distilled vinegar, then spray/sprinkle all over the cage. Let the liquid sit in the cage for 10 minutes before beginning to clean their home. Once the time is up, take your sponge and begin cleaning out the habitat as you would if using paper towels or toilet paper.
- If Using A Hand-Held Vacuum: Place a small amount of cage wash in their litter area, then turn on the vacuum cleaner to suck up all of the excess debris that may have been missed by the first two methods.
Irrespective of the method used, scrub down the inside of their cage. Make sure to get in every nook and cranny so nothing is missed! Go deep into the tunnels, crevices etc. These spots are hotbeds for bacteria and viruses. Hence, it is very important to thoroughly wash every inch of the cage.
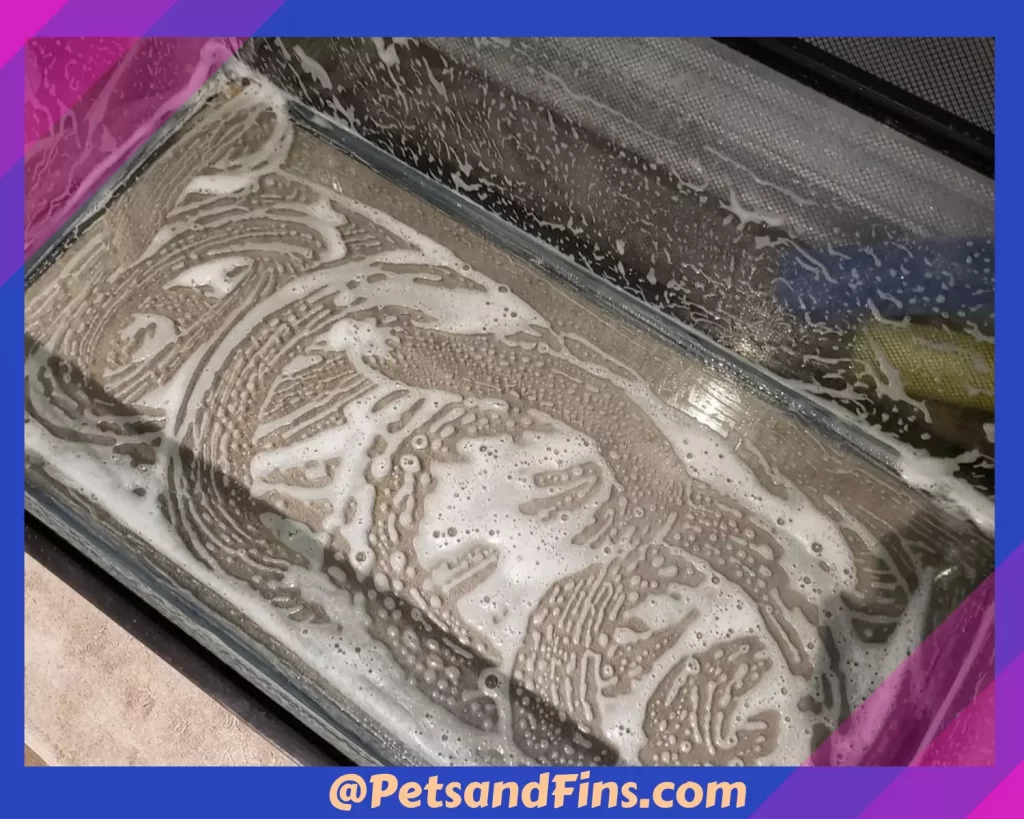
Always wash the inside of your hamster’s cage thoroughly to make sure that they stay healthy and happy. Scrubbing is important because it removes bacteria, viruses, and pesticides/ chemical residue from their environment, which can potentially harm them over time or cause an illness in humans who come into contact with these harmful substances through ingestion.
The best way to maintain a clean home-cage area is by thorough washing every inch, including all crevices where food may accumulate, causing spoilage; spot sanitising any areas prone to mold growth, such as “pee corners” soiled wood chips; cleaning wire fronts on hutch doors etc.
Step 3: Clean and Wash the Hamster Food Bowl and Toys
Once the hamster cage has been thoroughly cleaned, it’s time to move onto other things. This includes washing their food bowls, toys, and accessories such as wheels, decoration items, etc., which are likely covered in droppings as well.
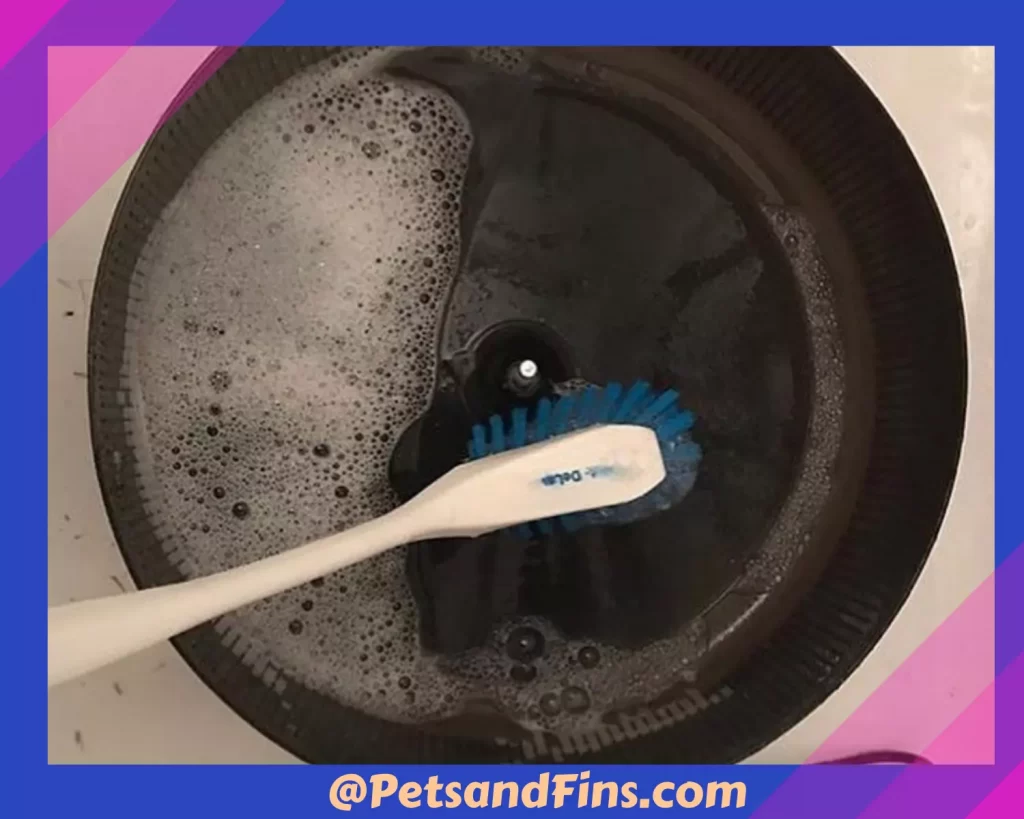
If there’s any residue stuck to the inside of the bowl or on the toys, it’s best to soak them in warm water with a little bit of dish soap before scrubbing them out.
Step No.4 Dry Out The Cage And Accessories Completely
Once everything has been washed and cleaned, it’s time to dry out the cage and all the hamster cage accessories. How you choose to do this is up to you, but just make sure that all surfaces are completely dried before putting anything back in their cage if they’re going to be occupying it right away.
It’s important that you take your time while cleaning a hamster’s habitat and do not rush through this process just for convenience sake. How you choose to speed up or slow down these steps will depend on your own personal preferences and what you feel is best for your hamster friend (s).
Step No.5 Place Fresh Bedding Inside The Cage
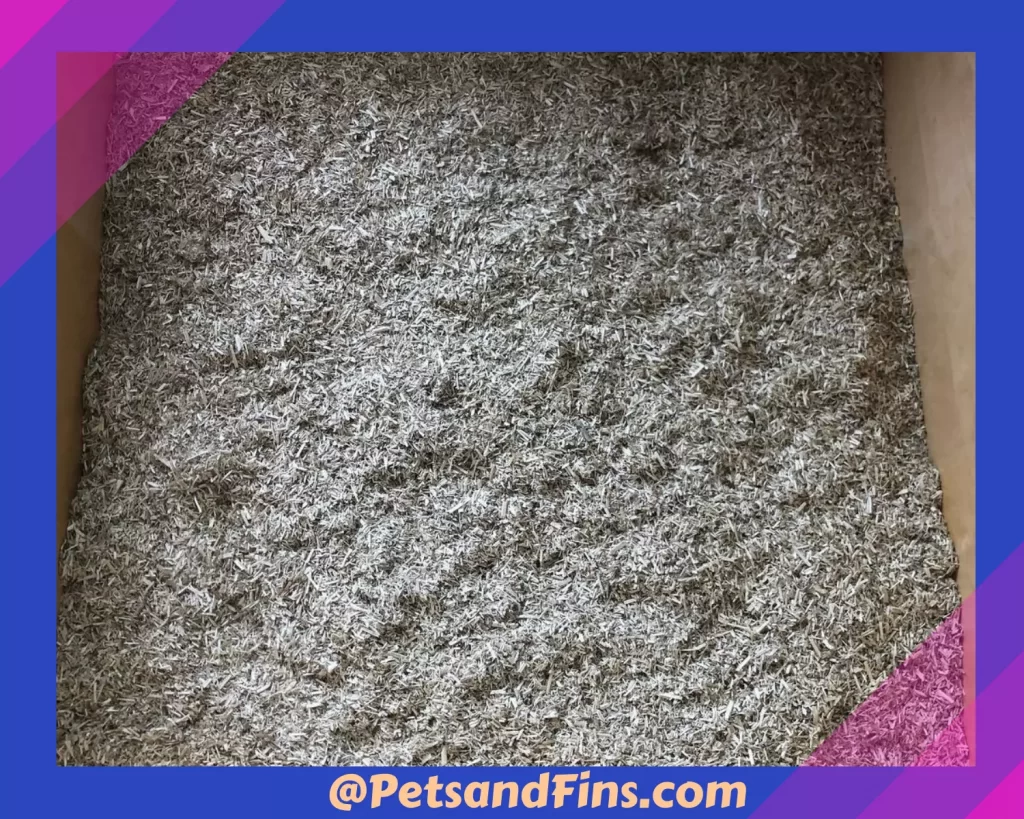
Once everything has been washed and dried, it’s time to place fresh bedding inside their home. How much you choose to put in is up to your preference, but just remember that the more hamster litter or substrate you have within a cage means having less space for them, which could cause issues with overcrowding if they’re sharing a small habitat.
Step No.6 Replace All Accessories And Food Bowl Back Into Cage
Once everything has been washed and dried, it’s time to put all of the hamster cage accessories back into their home. Replace any food bowls or toys that have been removed from the cage, as well as place fresh water in a dish for them.
Step No.7 Put Your Hamster Back In The Cage
Once everything has been washed and dried, it’s time to let your hamster back into their home. Place your hamster in the cage and let them explore the freshly cleaned surroundings for a little bit!
Let your hamster back into their home and watch as they explore the newly cleaned space for any food or bedding that may have been left behind. They will naturally be curious about this new environment because everything smells so fresh!
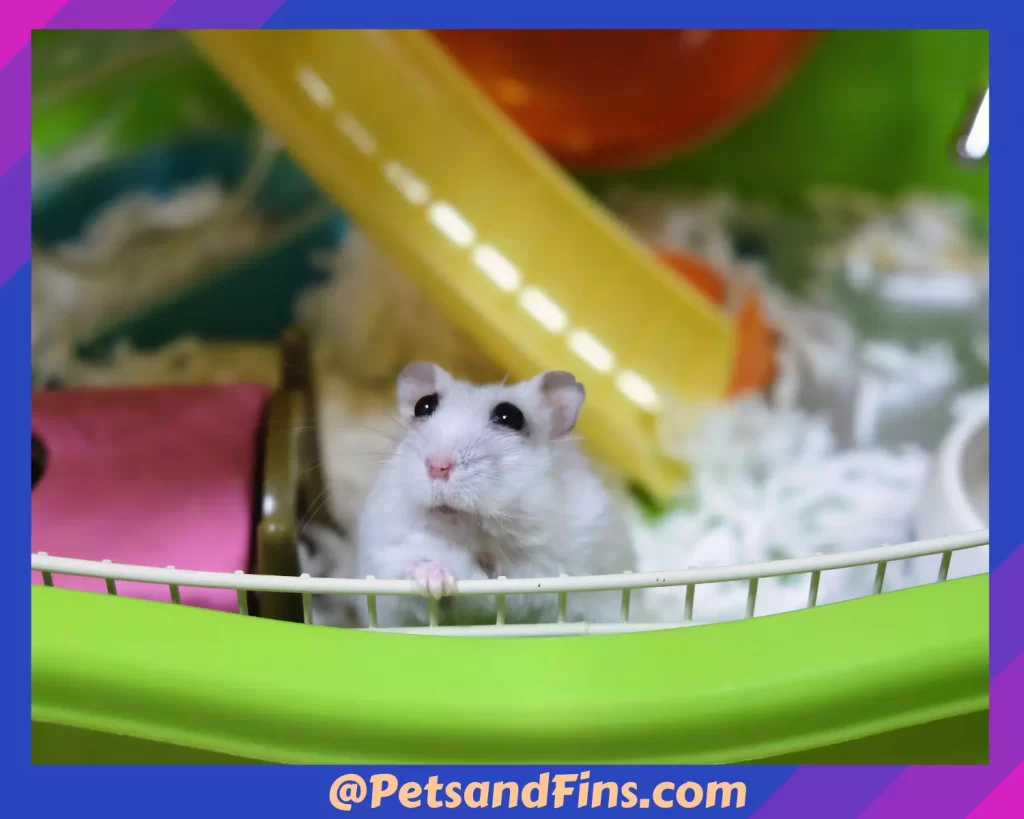
You can expect them to spend some time investigating every corner of it before resting comfortably in one area with no worries again- probably by checking out who’s visiting from outside 😉
Step No.8: Get Rid of the Trash
Finally, once you’ve let your hamster back into their home and they’re settled in comfortably, it’s time to take care of the trash. Throw away any items that have been removed from the cage, such as dirty bedding, food remains, etc.
When you are finished cleaning up after yourself, take time to admire how good it feels when everything has been put back together again! Take pride in seeing the immense joy you have brought into your furry hamster’s life!
General Tips For Cleaning Different Types Of Hamster Cages
How to Clean Hamster Cages – Wire Cage
The easiest way (and probably safest) in which to clean a hamster’s wire cage is by lining it with paper or newspaper. This method is also the most common technique used by hamster owners, but it can be a bit time consuming when you are removing droppings because you have to tear away the paper to get at them.
How To Clean Hamster Cages – Plastic or Glass Cage
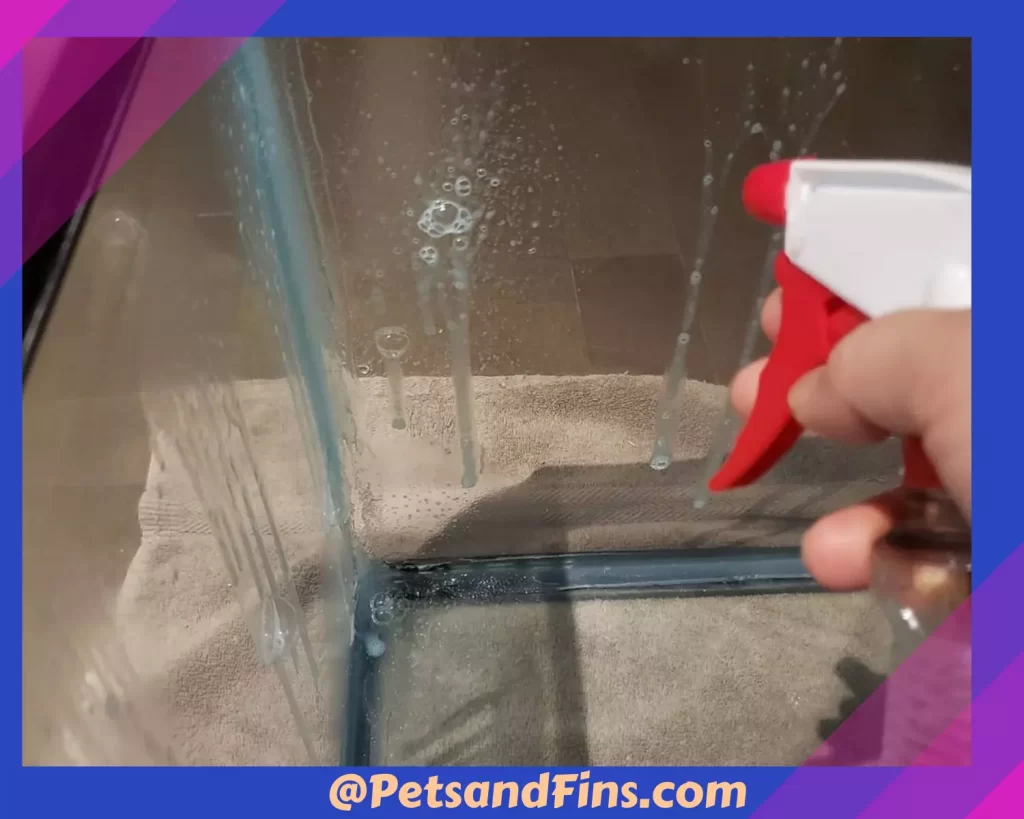
If your cage is made out of plastic or glass, then the process of cleaning it is much easier. All you need to do is remove all bedding, food and water from inside the cage before rinsing out any droppings that may be present (they will likely stick to plastic or glass).
How To Clean Hamster Cages – Using A Vacuum
If you have a particularly messy hamster or one that produces large droppings, then you might want to consider using a vacuum cleaner on the cage. Simply put the nozzle inside of it and move slowly while vacuuming up all the debris from where your pet has left it behind.
Wrapping Up
Hamsters are small, furry creatures that make great pets. They need to be cared for in order to live a healthy life and enjoy their time living with you.
One of the most important aspects of hamster care is cleaning their cage regularly so they have a safe environment where they can play and sleep while being protected from any potential harm or disease-causing agents.
Hamsters are social, friendly animals that thrive when they have plenty of space to run around in.A clean hamster cage is important for the health and happiness of your pet. Make sure you’re cleaning out their habitat at least once every 15 days so it doesn’t get too dirty!
XoXo
Genie
Related Questions
How Often Should I Clean My Hamster Cage?
The hamster’s cage should be cleaned at least once every 15 days. If the hamster is on a regular diet, it will produce far less waste than one who eats only sporadically or if it has an irregular diet.
A good rule of thumb is to clean out all bedding and food items in the cage as well as changing any water bottles that are empty after cleaning. Any droppings can also be removed with dry paper towels.
This will help to keep the area fresh and prevent any buildup of odors or bacteria. It is important that a clean water bottle, food dish, bedding material and exercise wheel are added as well for your pet’s health and happiness.
Leave no trace behind by using pet safe disinfectant spray before putting away all supplies into their designated containers for next time; doing so ensures everything stays fresh and clean until next use!
Can I Use Bleach To Clean My Hamster Cage?
No, never use bleach when cleaning a hamster cage. I have heard a lot of pet owners using diluted bleach to clean stains in their hamster cages. I strongly advise against this .
This chemical can be lethal to the small creatures and will lead to respiratory problems or death if it is ever used in their environment.
Additionally, disinfectants containing chlorine are also dangerous for these types of animals, so they should not be used either. Most pet stores have safe cleaners for this type of situation that are perfectly safe for your hamster to be around.
You can also safely use diluted vinegar, or plain soap and warm water while cleaning .
